Binding with TransTape
- Jamie Blum
- Sep 10, 2022
- 9 min read
Updated: Sep 15, 2023
Many people choose to bind their chest, including myself, for a multitude of reasons."Traditional" binders are a common choice for binding among Transmen and other non-binary, gender non-conforming individuals, but there's another option now that can provide you with the same, or even better, results. There are many ways to apply it and everyone develops their own technique, but here I will share my personal technique with tips and easy to follow steps.
Binding can be very affirming and euphoric for someone who experiences gender dysphoria and it's likely more common than you realize.
We've talked about binding in the past and I personally use and prefer TransTape in place of a "traditional" binder. If you haven't already read my post, "To Bind or Not to Bind", I go a lot more in detail about binding as a whole and my personal feelings and experiences with it.
To this day I continue to achieve better results with TransTape and I don't have to worry about the pesky health concerns that come with traditional binders.
I even had the confidence to toss my binder in the trash years ago after I got the hang of using TransTape.
But with that being said, there is a proper way to use this incredible creation.
I don't want to say that there's necessarily a wrong way to apply, but there are definitely commonly missed steps and mistakes that you can avoid.

Even though I've covered this in the past, let's have a quick recap on what exactly TransTape is before we dig in.
TransTape is a body transformation system that allows you to safely bind, pack or even tuck. It's a wonderful alternative to bras, binders, gaffes, packers and other self-affirming products.
That's right, anyone can use it!
With a 95% cotton and 5% spandex blend, this tape is made with non-medicated, latex free, medical grade acrylic adhesive.
However, that does not mean you shouldn't do a test strip before your first time applying!
More on that test strip in a moment.
Unlike a traditional binder where you're limited to how many hours you can wear it, you can wear TransTape safely for up to 5 days.
For many, that's a full work week with one less thing to worry about and I think that's incredible.
And yes, this does include showering, exercising, and sleeping!
TransTape is waterproof, sweatproof, and well, life-proof in my eyes.
Now that we've had our proper recap, let's get to that juicy technique I was telling y'all about.

Step One
Gather the necessities!
Here is what I recommend for this tutorial:
1 Roll of TransTape, any color, size or pattern
1 Pair of Nipple Guards
1 Pair of scissors, sharp enough to make clean cuts
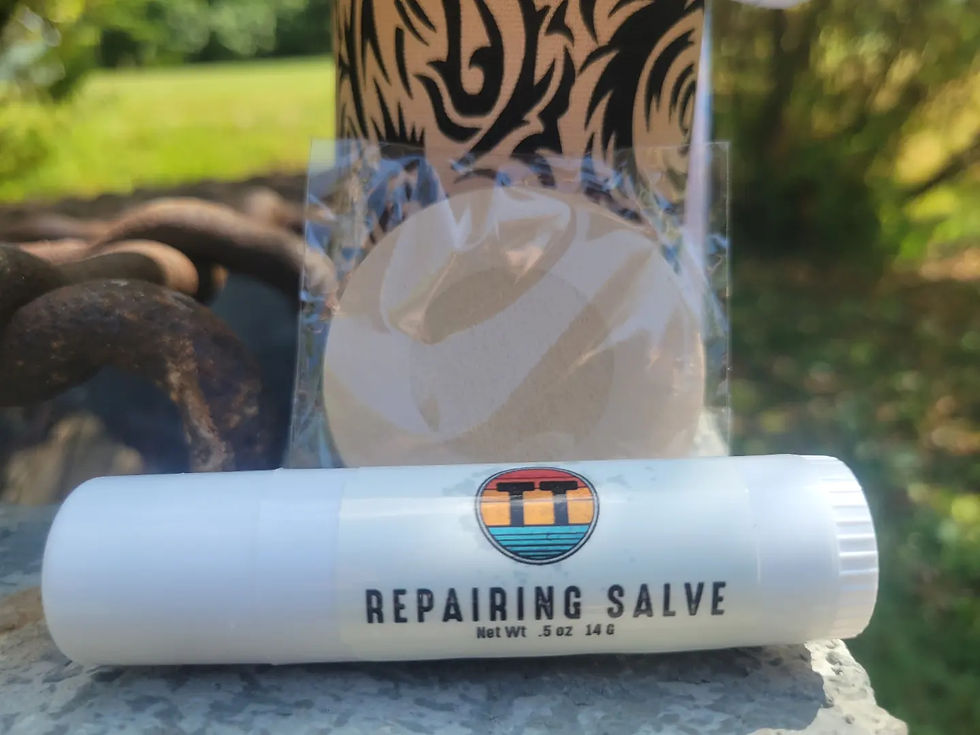
TransTape Repairing Salve
Rubbing Alcohol
Cotton Balls/Rounds or Tissue

WAIT.
I almost forgot!
Test Strip
Before you scroll by and continue, it's time for the test strip!
If you have experience using TransTape already and know it's safe for your skin, feel free to continue to Step 2!
If not and you are brand new to TransTape, that's totally cool, but please stick around!
This is an incredibly important step that you really shouldn't skip if you are a first time user.
I know, I know. You wanna try it now, I get it.
But the reason for the test strip is so that you know that TransTape is safe for you.
TransTape is made with high-quality materials but it's still possible that your skin may have a reaction. Sensitive skin or not, play it safe and use a test strip.

So go ahead, grab your roll of tape and cut off a small piece, about 2"x 2".
After you have your small piece cut out, pick a spot where you intend to apply the TransTape later on.
Once you've decided where, pull the backing off and apply it with zero tension.
You don't want to have tension in the test strip so that if there is a reaction, you know it's not from overstretching and TransTape just may not be for you.
After you apply the tape, leave your test strip on for a minimum of 24 hours.
After 24-48 hours, safely remove your test strip with oil. Once removed, inspect the area where it was and you should have a good idea if it's okay to continue using TransTape.
If you experience ANY pain, severe itching or extreme discomfort, remove the tape as quickly and safely as possible.
Step Two
Before we get into cutting and sizing our strips, we need to make sure our skin is ready for application.
For the best results possible, you want to start off with fresh, clean skin.
Natural oils from our body, or even oils from our fancy body washes, can affect the adhesive and its ability to bond to our skin.
If you are doing this straight out of the shower, make sure to dry yourself off completely and not to apply any skin care products you may use to where you plan on taping.
That does unfortunately include your favorite lotion.
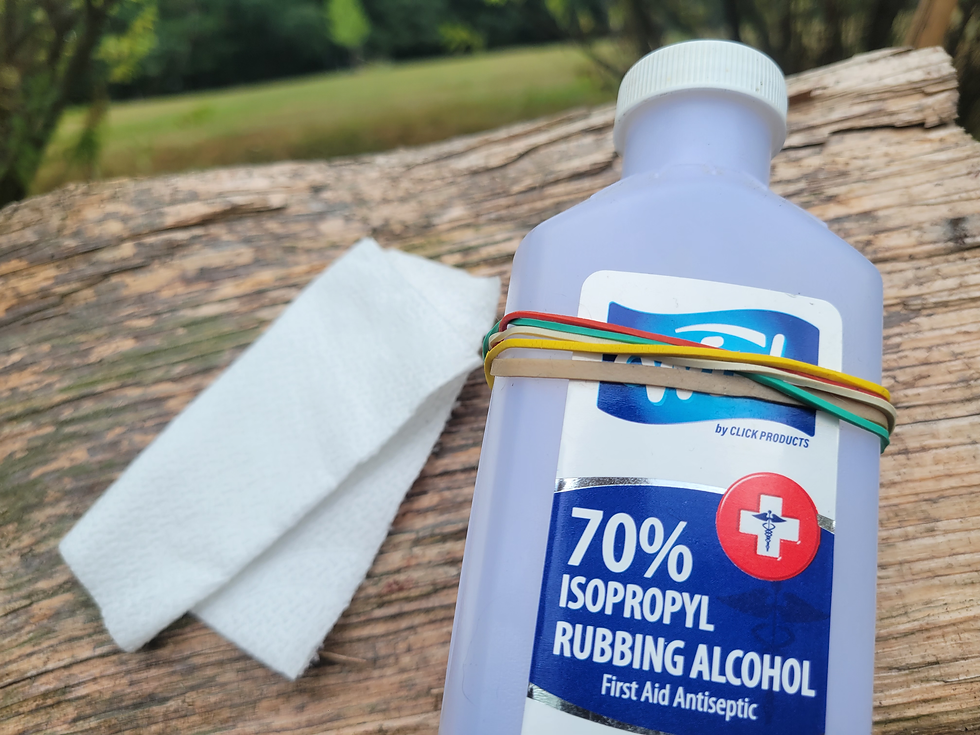
If you are applying at another point in the day, you can use some rubbing alcohol on a cotton ball or tissue and wipe down your application area.
Wait for it to dry completely and your skin should now be free of any oils and ready for application!
Another thing to consider before applying is your body hair.
Personally, I'm a little on the hairy side so I make sure to buzz down the hair on my chest down to around a 1/4" where I apply my tape.
This makes the removal process a lot easier later on and even gives me a rough guide on where to place my tape for when I go to reapply.
Step 3
How's your skin feeling? Naked?
Great! It's time to start cutting our strips.
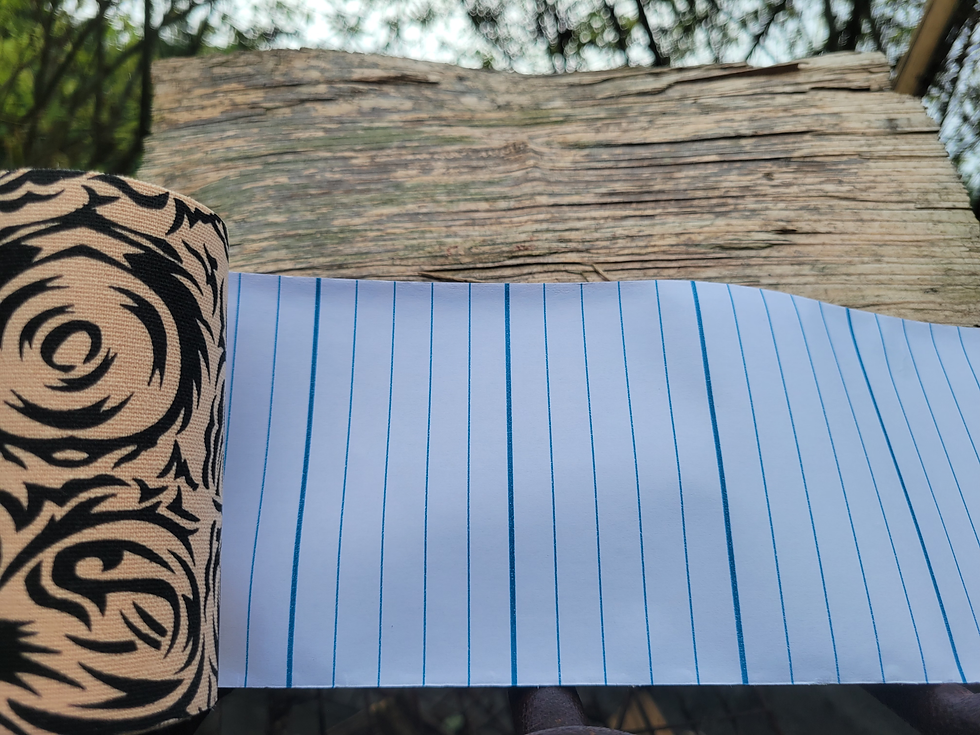
I recommend starting off with about 3 sections of tape and adjusting based on your needs from there.
Everyone's body is different, so if you feel the need to lengthen or shorten your sections, don't be afraid to do it!
For this specific technique though, I will be using a total of 4 strips of the medium TransTape.
Each side will have one 2.5 section piece and one 3 section piece.
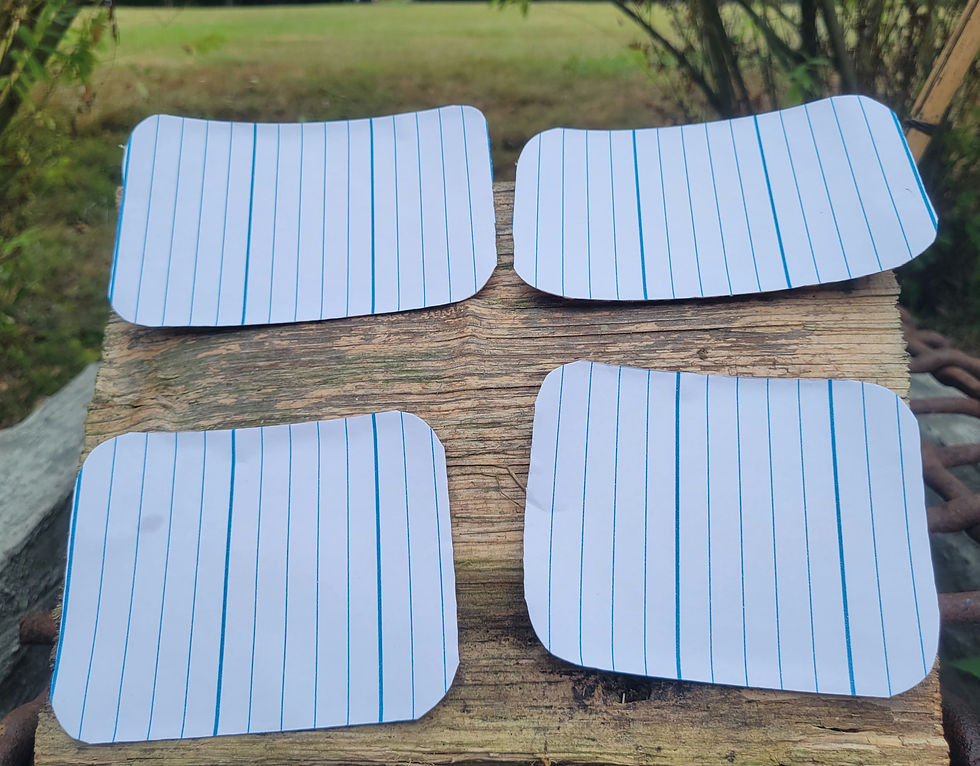
The purpose of having one strip longer than the other is so that when applied, the longer piece will overlap the small one and make contact with your skin on each side of it.
TransTape will not properly adhere to itself.
A lot of finding the right size strips and technique for yourself is trial and error, so don't feel discouraged if it takes you a few applications!
Pro-Tip!
Don't forget to round your corners!
When you wear your tape, those rounded corners are going to help it stay in place for longer.
With sharp edged corners, the tape is more likely to peel up from constant and consistent activity.
For example, when you're walking, your arms brush against your sides at times and that motion will catch a sharp corner much easier than a rounded one.
Step 4
Now we're really getting started!

Go ahead and grab that repairing salve and your pair of nipple guards now.
Typically, I'm all about freeing the nipple, but in this case I'm all about protecting the nipple.
I only applied TransTape one time without nipple guards and it was also my last time.
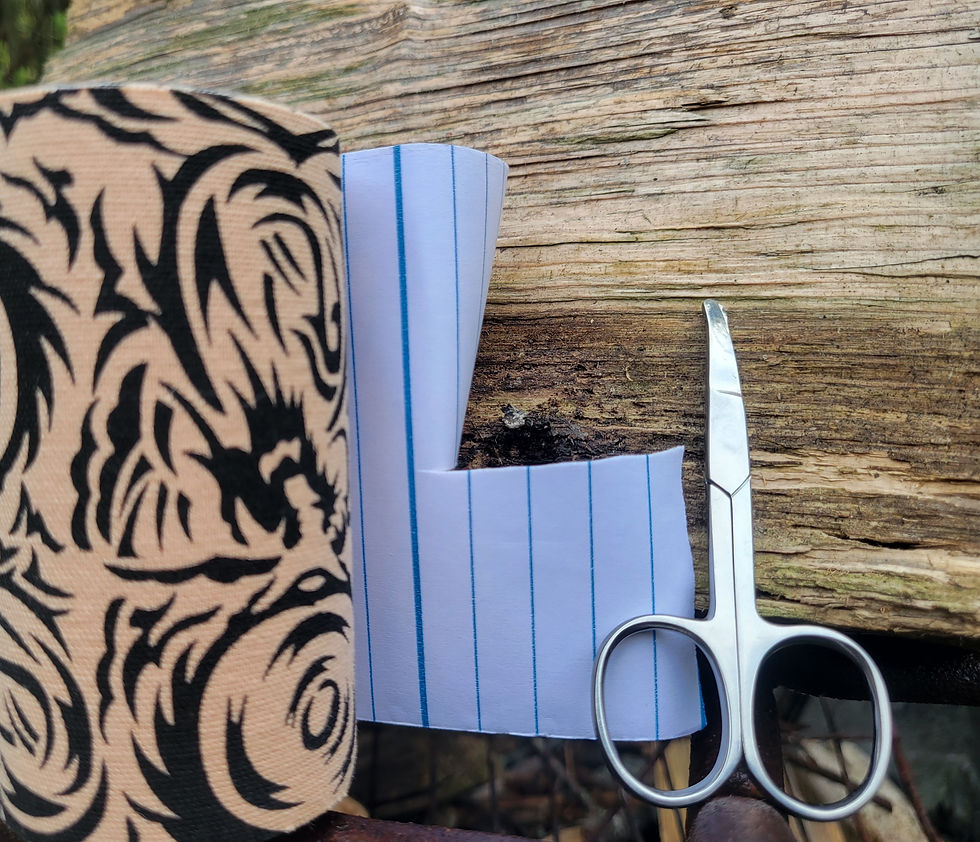
If you don't have nipple guards, you can make your own by cutting two pieces of TransTape big enough to cover just your nipples and some space around it.
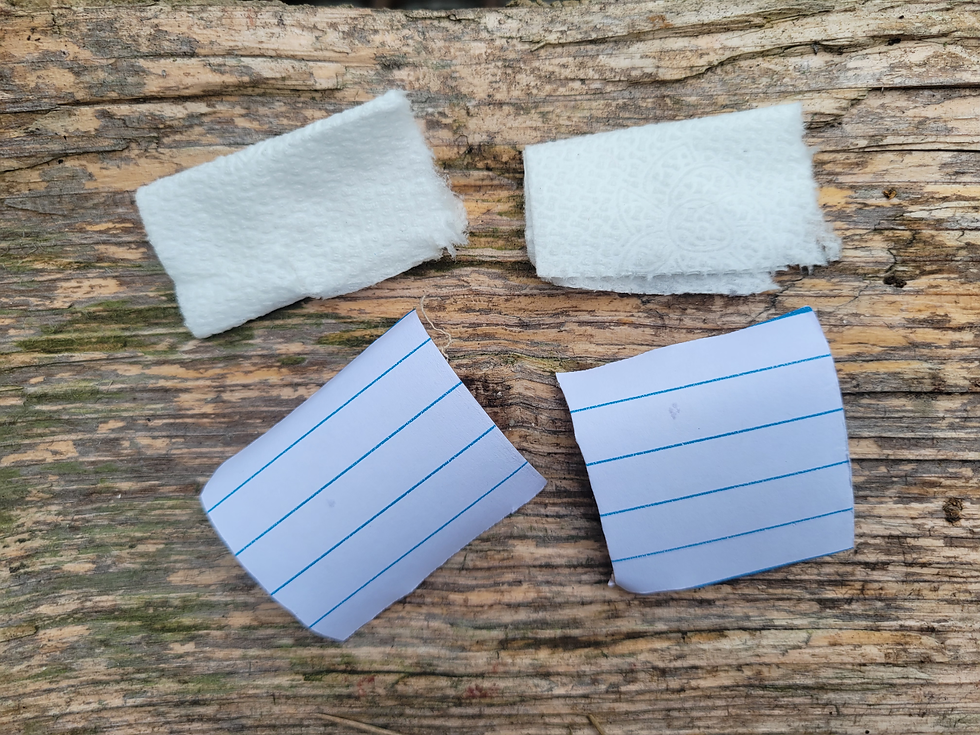
You also want something in between your nipple and the tape, so you can use toilet paper or even a small piece of a cotton ball.
Voila! You have made your own nipple guards!

Once you have your guards ready, go ahead and add a little salve to them for the sake of your nipples.
Then take some more salve and apply some directly to your nipples.
After, place your guards over your nipples and you're ready to rock!
How Are You Feeling?
Are we excited?! I sure hope so!
Being in the right mindset for applying TransTape, especially for the first time, is so important.
Keeping a positive attitude throughout your application can help prevent you from overthinking your placement and create a better experience overall.
So now that we are a shining beacon of light, let's get to it!
Step 5
Before actually placing the tape on my body, I take my hand and make a slight cupping shape with it. Then I apply pressure to my chest like I'm applying tape to see how my tissue moves so I can pick a good starting point that shapes my chest how I like.
Even after applying probably 100 times or more, I still do this.
As we change, our bodies naturally change with us and sometimes you might have to switch up the placement a little to accommodate and that's perfectly normal.
Once you think you've got a good idea on where you are going to place your first strip, go ahead and make a handle on one of your two smaller strips.
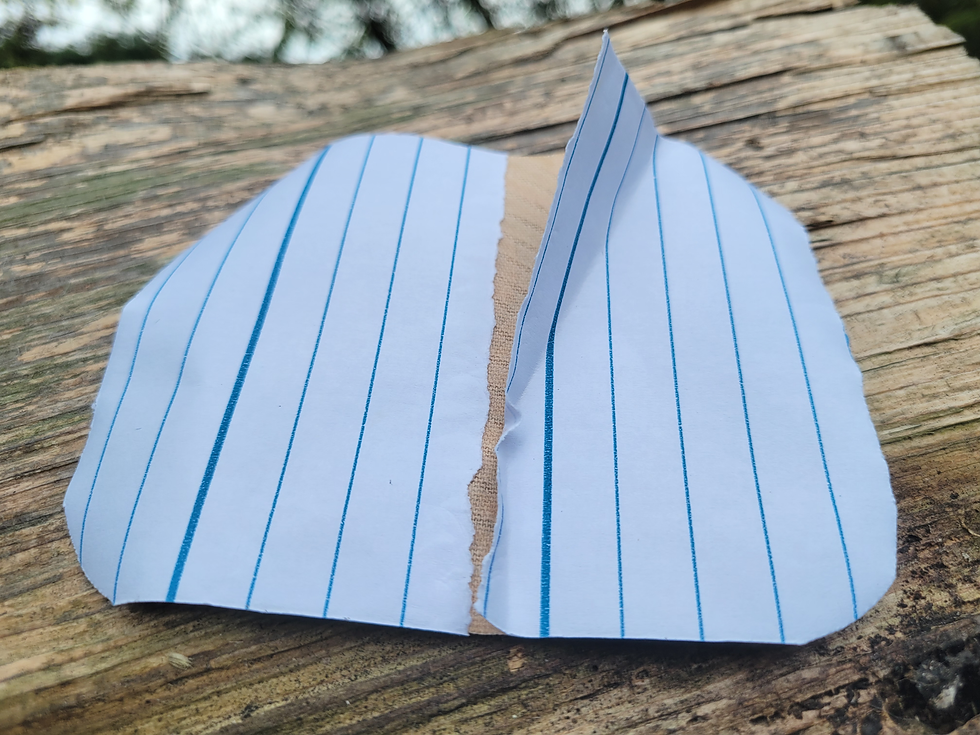
A handle?
Yes.
To do this, tear the backing paper down the middle without peeling it completely off or damaging your tape.
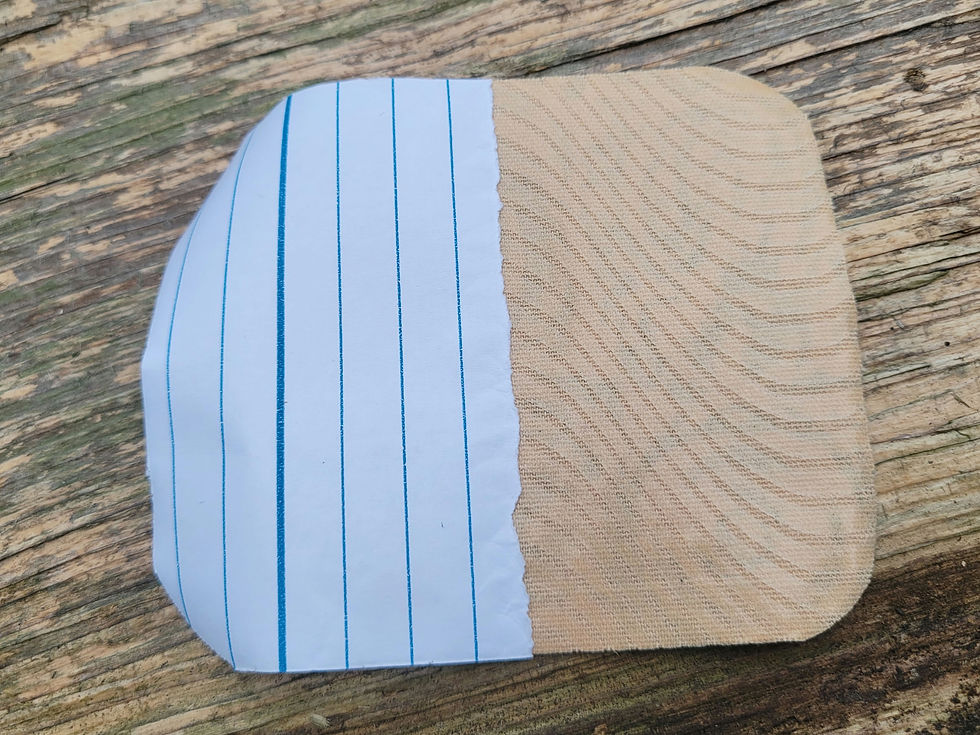
Then, peel off only one side of the backing paper.
The exposed side will be your anchor and the other side is your handle for when you're applying.
Step 6
With this technique, your first strip on each side should always be smaller than the second strip to ensure there's an overlap.
Being careful not to touch the exposed tape to avoid bothering the adhesive, place your anchor down where you decided it would work best for you in the previous step.
For my first piece on both sides, I typically place it lower and in-line with the crease of my chest.
Pro Tip
It may be helpful to visualize a triangle or "V" on yourself.
Starting at the center of your breastbone, visualize lines to each of your shoulders. If you keep tape out of the space between the lines and use that slight angle as a guide, you'll be wearing open-chest shirts in no time!
PICTURE
After you place the first half on your skin, smooth it out and rub it like your life depends on it to help the adhesive bond to your skin.
Once you're smoothed out and bonded, go ahead and use your anchor and hand to guide your chest tissue to the side.
Find the most comfortable way that your chest tissue tucks with the tape.
Once you are happy with your placement, remove the backing paper completely, lay the tape down smoothly and rub it like you did with the anchor for the adhesive.
PICTURE
During this process, do your best to keep your arm from raising up. This may cause wrinkles in your tape when you lower your arm again and can cause discomfort while wearing the tape.
Another thing that can cause discomfort is overstretching.
TransTape is meant to stretch, but there is such a thing as too much.
Overstretching is the most common mistake made while applying TransTape.
Everyone who has used this body transformation system has most likely overstretched while applying at some point.
So after your application, if you feel like the tape is pulling your skin or you feel a burning sensation, these could be signs of overstretching and you should remove your tape and reapply.
Go ahead and repeat this process for the other side!
Also keep in mind, your placement may not be exactly the same on the other side and that's 100% okay!
Step 7
Looking great, friend!
Before applying your second strip, I recommend using your hand again to get a good idea where to place it.
Your chest tissue is going to move a little differently now with the first piece done.
PICTURE
Prepare your larger strip of tape with a handle and find your spot for the anchor.
Remember, you want to place this piece so it overlaps your smaller one, making sure to make contact with your skin on both sides.
You should use the same motion that you used to place the first piece, guiding the rest of your tissue with your hand and the handle on your tape.
Comfort should be priority.
You want to be able to move around freely without feeling restricted.
Once you find the sweet spot, peel that backing paper like a banana, place your tape smoothly without wrinkles and rub it vigorously to activate the adhesive.
As always, we're looking to avoid wrinkles and overstretching!
So if you notice any wrinkles or discomfort, you may want to reapply so you have the best results possible.
If you are happy with your placement, go ahead and repeat for the other side!
PICTURE
Step 8
Take a moment and inspect your application.
Can you do a jumping jack?
How about patty cake, can you play patty cake comfortably?
Yes?
Awesome.
Now check for any spots, such as underneath your armpits, that might need an additional piece of tape.
You can also use an extra vertical piece to cover where the two pieces line up towards your back for extra security.
If you are not fully satisfied with your application, there is no shame in trying again.
We've all been there!
Practice makes perfect.
Another thing to consider when applying, is reaching out to a friend, significant other or another loved one for some help.
There are plenty of people out there who have someone apply TransTape for them for an easier and less stressful process.
Switch up the process and see what works for you!
When you first start wearing TransTape, a mild itching sensation isn't unusual as your skin and hair adjust.
Once again, if you experience ANY pain, severe itching or extreme discomfort, remove the tape as quickly and safely as possible.
When you go to remove your tape, never under any circumstances pull, rip or tear TransTape from the skin.
You should also always remove your tape with oil to help separate your skin from the adhesive.
Bonus points if you remove it in a bath or shower.
Your Last Pro Tip
Cut away the tape that starts peeling up.
After some days of wear, you may notice some parts of the tape starting to peel.
A common spot that may occur is underneath the armpit where your deodorant
And that's totally normal!
Doing this can actually give you an extra day or two out of your application and help maintain a better appearance.
Still, it is not recommended to wear TransTape for more than 5 days at a time.
PICTURE
At this point, my dearest reader, you are finished!
Do you love it?!
I can't even see it and I love it!
It's okay if you cry tears of joy after you apply, it's waterproof.
Now that you are safely binded, go out into the world and show everyone how wonderful you are!
And if you applied TransTape for the first time while reading and following along, I'm so proud of you!
I hope this product is as life changing for you as it is for me.
Truly.
Stay awesome, stay beautiful, stay you.
You are loved and it gets better.
Talk to you soon,
Jamie


Comments